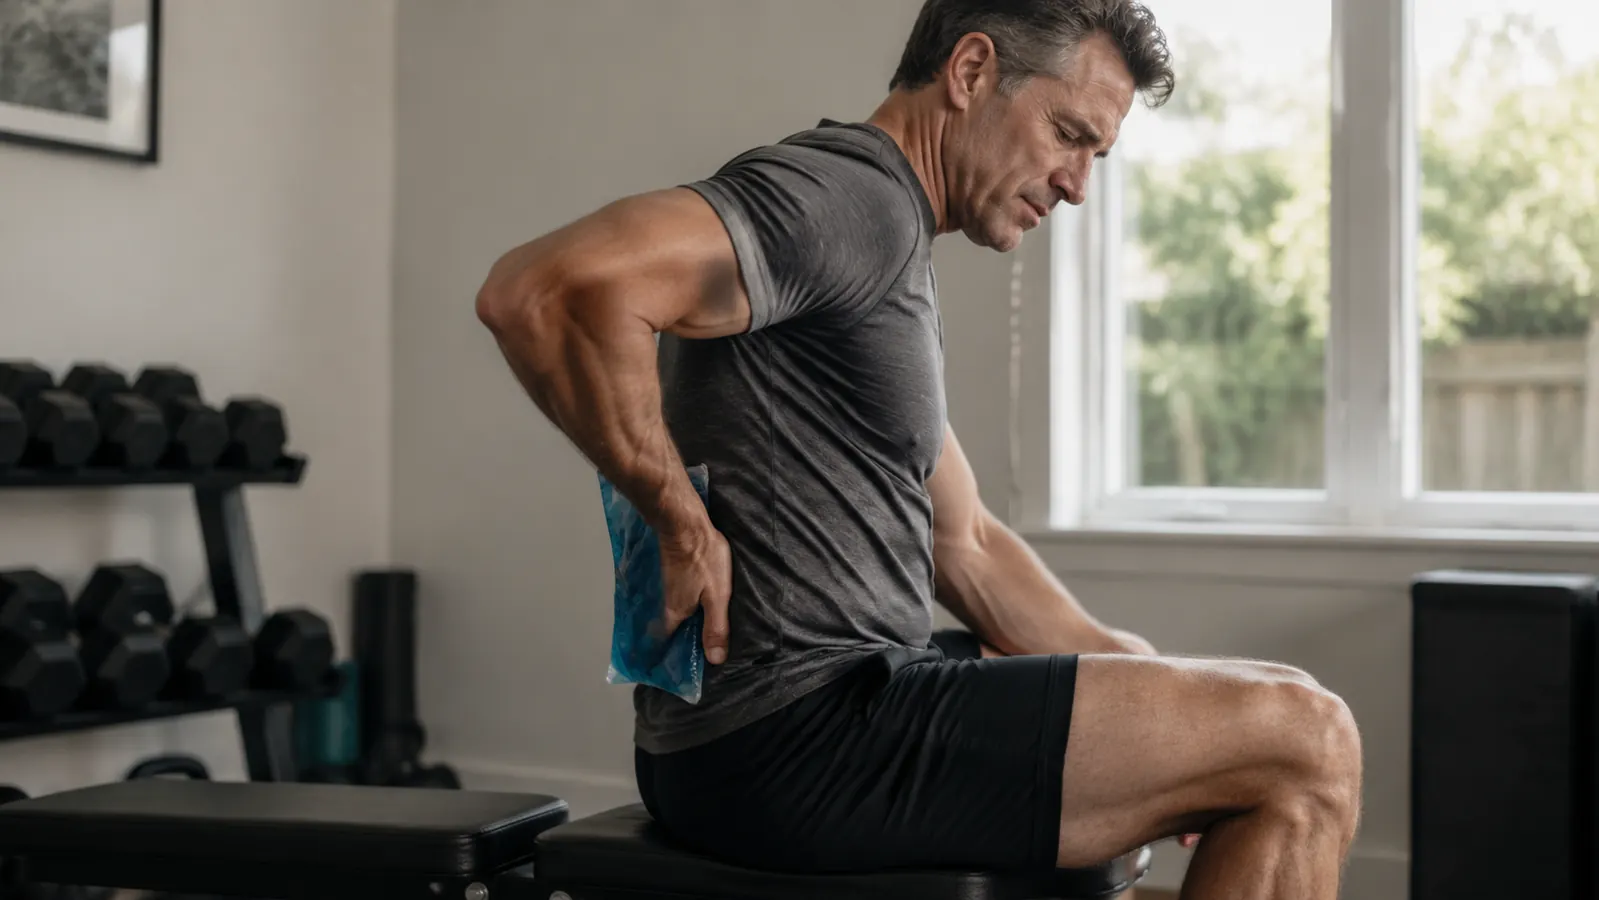
If you finish a hard workout, slap some ice on whatever hurts for however long feels right, and call it recovery, you are doing roughly what most people do. It is better than nothing. But it is also leaving a lot of recovery benefit on the table. The timing window matters. The session length matters. And the body parts you target matter more than most people expect. Cold therapy is a real tool. It just requires a bit more intention than grabbing a bag of frozen peas.
I started paying closer attention to my own protocol after a particularly punishing set of weekend trail runs left my lower back and knees in bad shape every Monday morning. I was icing inconsistently, usually too late and for too long in the wrong spot. Once I tightened up the approach, the Monday morning stiffness dropped noticeably within two weeks. What follows is a practical, step-by-step guide to what actually works, with the reasoning behind each decision so you can adapt it to your training.
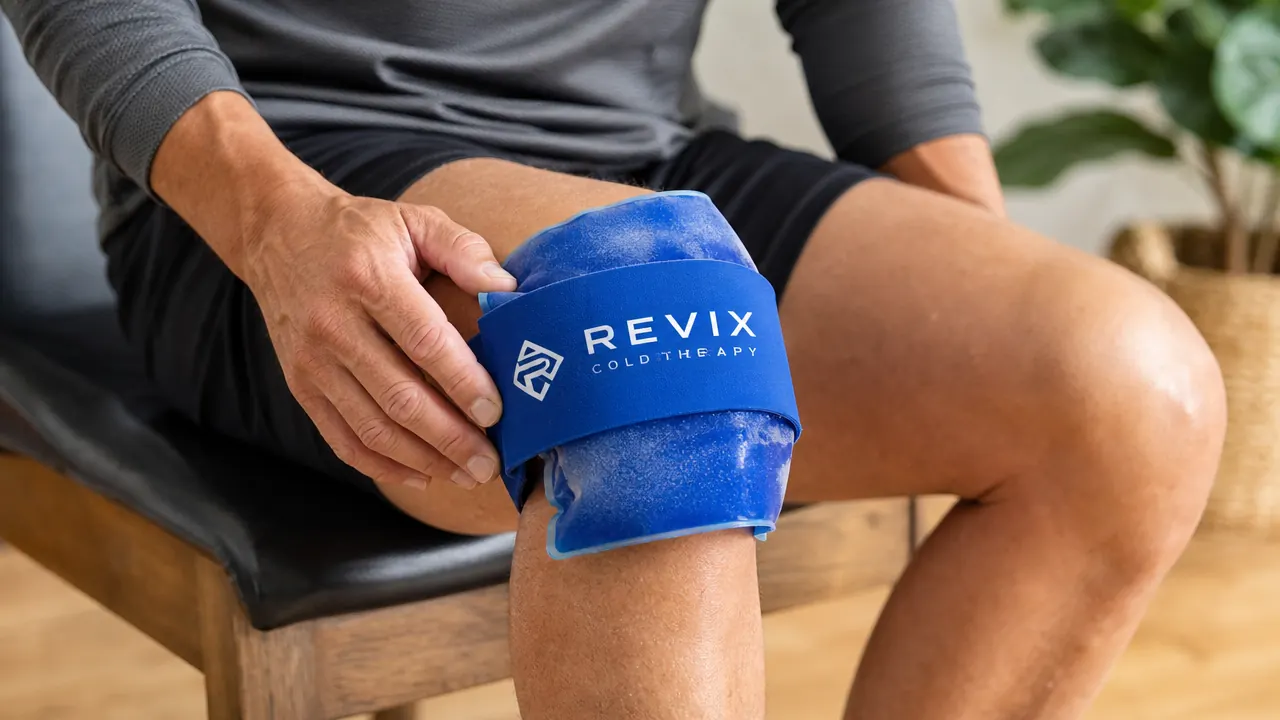
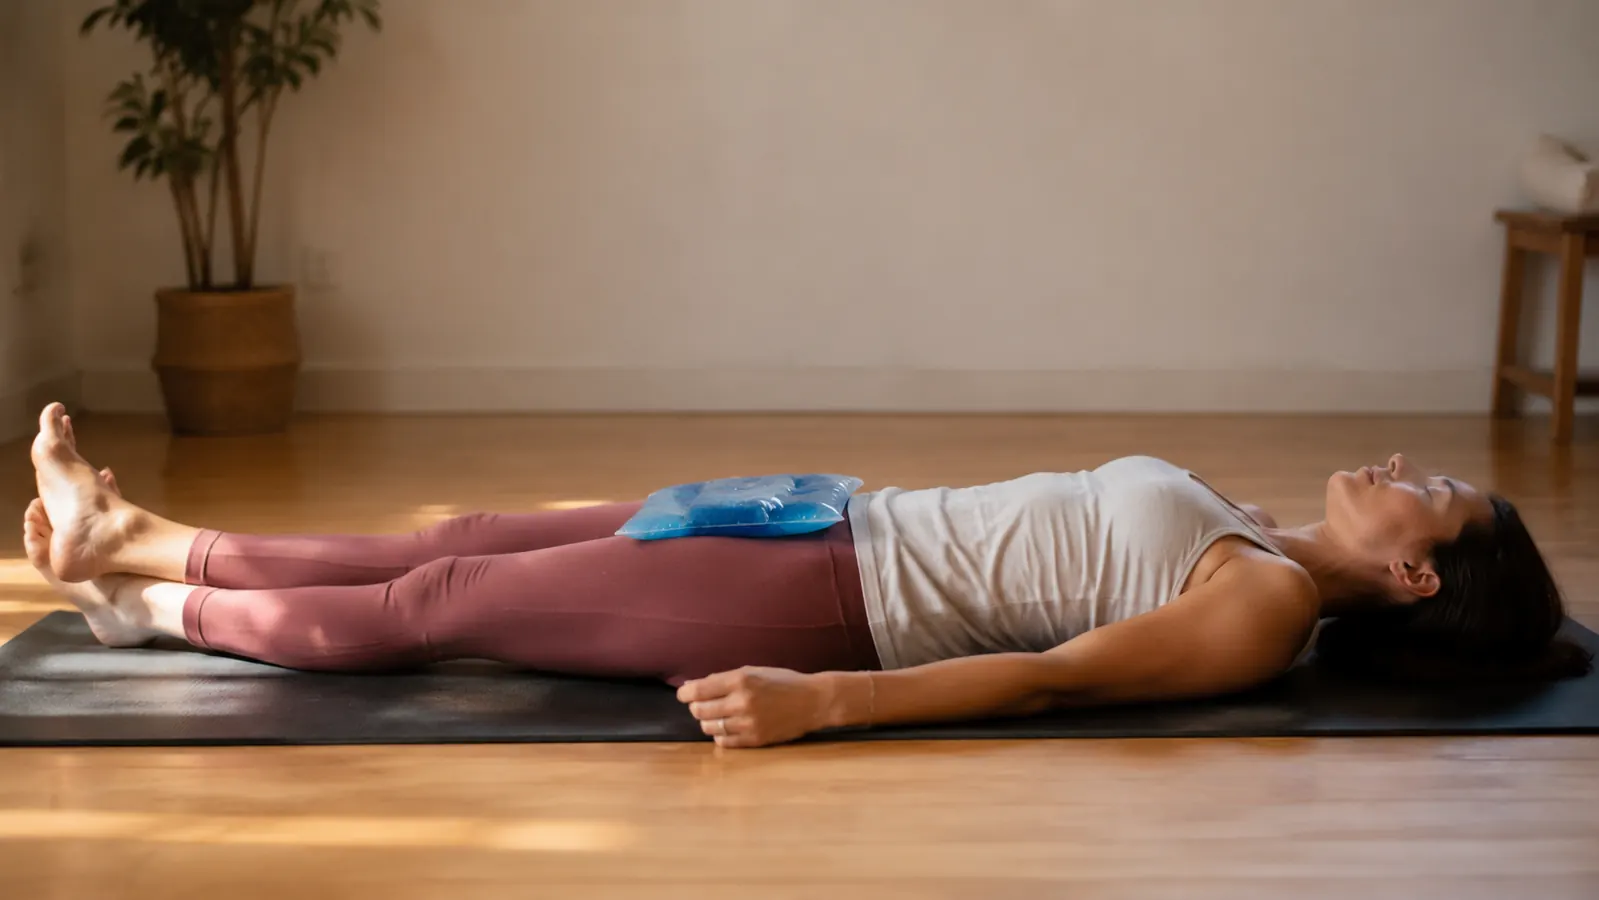
Want a cold pack that actually stays where you put it?
The REVIX reusable gel ice pack has a built-in elastic strap and stays flexible straight out of the freezer, which makes it the tool I reach for every time. Rated 4.6 stars across nearly 9,000 reviews.
Amazon Check Today's Price on Amazon →Why Cold Therapy Works After Hard Exercise
Hard exercise, especially anything involving eccentric load like running downhill, heavy squats, or repeated jumping, causes microscopic damage in muscle fibers. That damage triggers an inflammatory response, which is a normal and necessary part of adaptation. The soreness you feel 12 to 24 hours later is largely that inflammatory cascade at work. Cold therapy does not stop inflammation entirely, nor should it. What it does is slow the rate of inflammation at the tissue surface, reduce nerve conduction velocity in the area (which translates to reduced pain signaling), and help manage swelling in joints and soft tissue that took direct mechanical stress.
The practical effect is that cold therapy, used correctly, lets you recover in more comfort and get back to training in better shape than if you had done nothing. It works best on joints and soft tissue with minimal insulating fat, on areas that took direct impact or eccentric load, and when applied during a specific post-exercise window. It does not work particularly well on large muscle bellies deep under tissue, which is why your quads rarely respond the way your knees do.
Step 1: Wait 10 to 20 Minutes After You Stop Moving
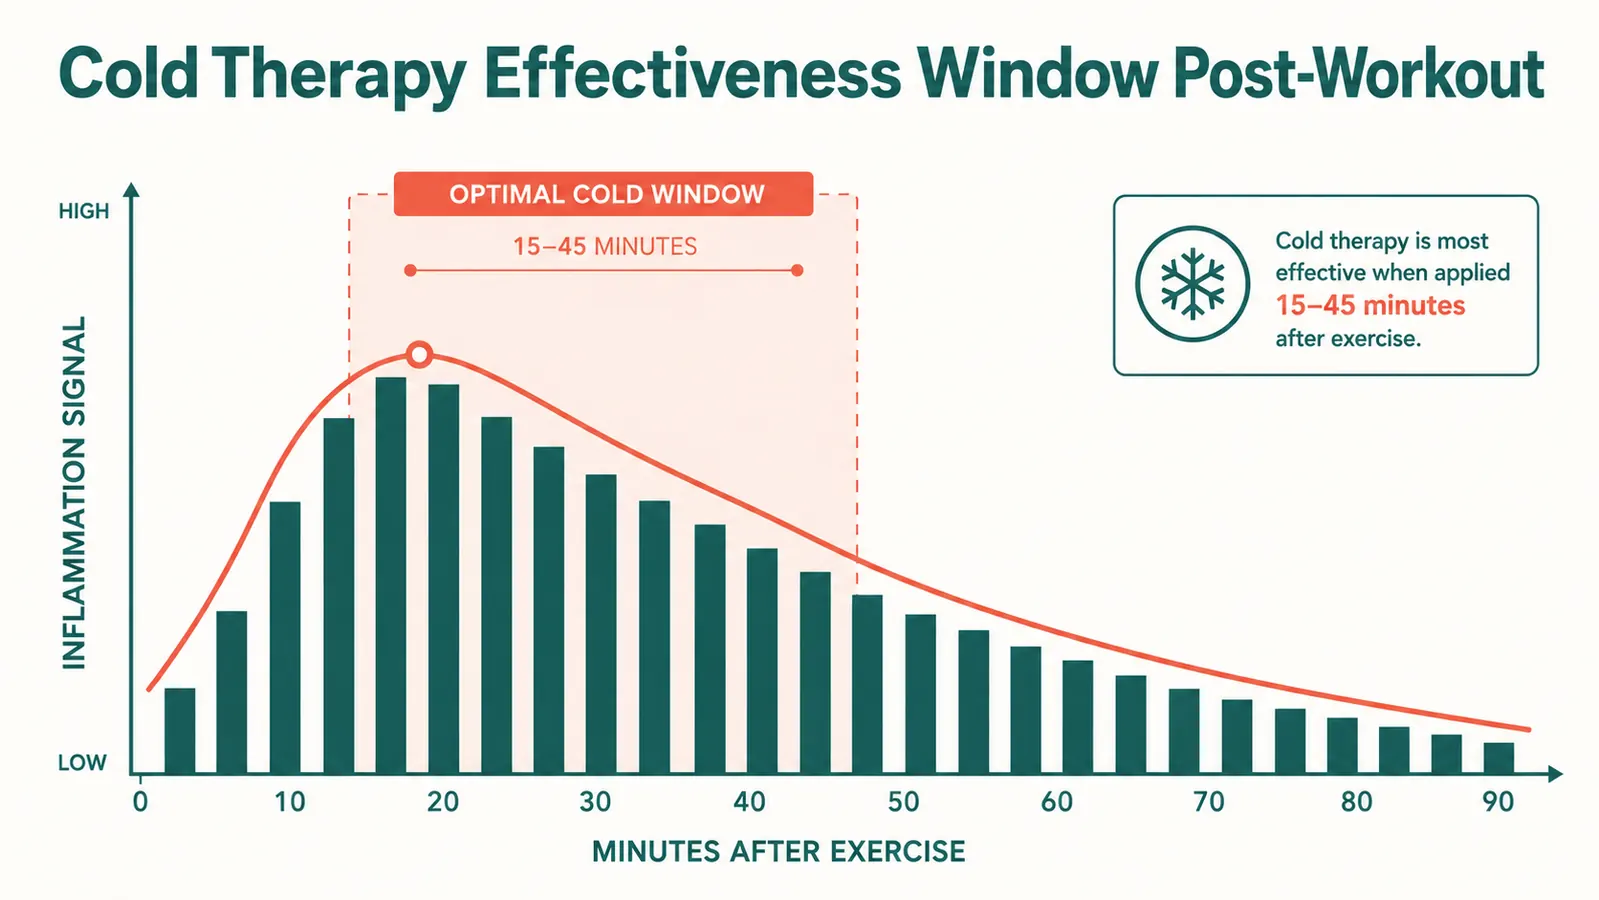
This one surprises people. The instinct is to ice immediately, but applying cold right when you stop exercising is not actually optimal. During the last few minutes of your workout and immediately after, your core temperature is still elevated and your circulatory system is still pushing blood through the tissues you just worked. Applying ice in that window mostly fights your own physiology rather than helping it.
Give yourself 10 to 20 minutes to cool down naturally. Walk around, do some light movement, drink water, let your heart rate drop. By the time you hit about 15 minutes post-workout, the initial circulatory response has settled and the early inflammatory signals are just starting to build. That is your entry point. Do not stretch this cool-down window much past 30 minutes though, because once inflammation gets a head start it becomes less efficient to manage with surface cold.
For most people in a typical training session, this means changing out of wet clothes, grabbing a drink, and then setting up your cold therapy session. The logistics work out naturally.
Step 2: Identify the Right Target Areas
Cold therapy is site-specific. You apply it where you need it, not over large regions of your body at once. The areas that respond best are joints (knees, elbows, shoulders, ankles), tendons and the tissue just around them, and areas with documented impact stress from the session. If you ran 8 miles on pavement, that means knees and ankles. If you did heavy back squats and Romanian deadlifts, that means your lower back and the tissue around your knees and hips. If you did overhead pressing, that means the shoulder complex.
Where cold therapy does less: over large muscle bellies like your quads, hamstrings, or glutes. The tissue depth means the cold does not penetrate effectively, and those muscles tend to respond better to compression or heat 24 hours later. Save the ice pack for the joints and connective tissue. For the muscles themselves, focus on hydration, protein, and sleep instead.
If multiple areas are sore, prioritize by which took the most direct stress. You can rotate a single pack through two or three sites in one session, giving each area its own timed window rather than trying to cover everything at once.
Step 3: Set Your Session Length Correctly (15 to 20 Minutes Per Site)
The standard guidance of 20 minutes on, 20 minutes off exists for a reason. When you apply cold to skin, the tissue goes through a predictable sequence: initial cold sensation, then a brief aching feeling, then a numbing sensation as nerve signaling slows. That numbing phase typically arrives around 8 to 12 minutes in and represents the peak therapeutic window. Staying in that window for another 5 to 10 minutes past onset is where most of the benefit lives. Past 20 minutes, you start getting diminishing returns and, in some cases, tissue stress from prolonged cold exposure.
Set a timer. Fifteen minutes is sufficient for most sites. Twenty is the ceiling for a single continuous application. Always use a thin cloth barrier between the pack and bare skin, both to prevent cold burn and to allow you to maintain the session without discomfort cutting it short. A dry dish towel works fine. Wet fabric conducts cold too aggressively.
The 15-minute window is where most of the benefit lives. Going longer does not give you more recovery. It just gives you colder skin.
Step 4: Choose a Pack That Actually Stays in Position
This sounds trivial until you have spent ten minutes holding an ice pack against your back while trying to stay flat enough to keep it in contact. A pack that does not conform to the body part and does not have some way to stay secured turns a 15-minute session into an exercise in frustration. The practical result is that people cut sessions short or skip them entirely.
What to look for in a reusable cold therapy pack: flexibility when frozen (so it conforms to curved surfaces like a knee or lower back), an elastic strap or wrap system that keeps it in contact without you holding it, gel fill that does not harden into a rigid slab, and a size that matches the target area. For back and shoulder work you want something larger. For knees and elbows you want something that can wrap partially around the joint.
The REVIX reusable gel ice pack fits that description well. It stays pliable out of the freezer, comes with an elastic strap, and covers enough surface area for lower back and shoulder work without being unwieldy. It is the pack I use consistently, which is why it gets the recommendation here. You can read a detailed breakdown in the full long-term review if you want more specifics before buying.
Step 5: Repeat the Right Number of Times Per Day and Per Week
For acute soreness or stress after a hard session, one cold therapy application in the post-workout window is usually enough for that day. If you trained hard enough to warrant a second application, the second-best time is about 4 to 6 hours later, not immediately after the first session ends. The 20-minutes-on, 20-minutes-off pattern is designed for acute injury management, not standard post-workout recovery. You do not need to cycle it that frequently after a training session.
On training frequency: if you are training hard 4 to 5 days per week, you do not need to cold-treat after every session. Reserve it for the sessions that produce real soreness or where a joint is under more load than usual. Using cold therapy on easy training days when you are not particularly sore has little benefit and can actually blunt some of the adaptation signaling you want from moderate training. Think of it as a tool for the hard days, not a daily ritual.
For ongoing management of a specific area that is consistently sore from training (say, a knee that always aches after leg days), one targeted 15-minute session within an hour of that workout, sustained consistently over several weeks, tends to produce the most noticeable cumulative improvement in how the area feels going into your next session.
What Else Helps (The Full Recovery Picture)
Cold therapy handles the immediate post-workout inflammation signal in specific sites. It does not replace the other inputs that drive recovery. Hydration is probably the most underrated one. Training in a slightly dehydrated state and then not rehydrating adequately post-workout significantly slows the clearance of metabolic waste from working muscles. Aim for roughly 16 to 24 ounces of water in the hour after finishing, more if you sweated heavily.
Sleep is where the majority of actual repair happens. If you are consistently getting 6 hours or less, no recovery tool is going to compensate for the structural repair work that only happens during deeper sleep stages. Cold therapy helps you recover more comfortably in the hours after training. Sleep is when the underlying adaptation and repair actually occurs. You need both working in your favor.
Compression is worth mentioning as a complement rather than a substitute. Air compression devices like recovery boots work through a different mechanism (pumping fluid out of tissues, driving circulation) and pair well with cold therapy for leg recovery after long runs or heavy leg days. The timing does not need to be precise. Cold first, compression later, or vice versa, both approaches work. If you are only going to do one thing immediately post-workout, cold therapy on the most stressed joints is the better choice for acute discomfort management.
Heat therapy is the other side of the equation, and it belongs at a different point in the recovery timeline. Heat is most useful 24 to 48 hours after a hard session, when the acute inflammation has settled and the goal shifts to improving blood flow and loosening tight tissue. Applying heat in the first few hours after hard training typically makes acute soreness worse, not better. Use cold in the short window after training. Come back to heat the following day if you need it.
What I Would Skip
Ice baths after every workout. Unless you are a competitive athlete doing two-a-days or recovering from genuinely intense training blocks, a full ice bath is uncomfortable overkill for standard recreational training. The research on ice baths blunting training adaptations is real enough that for most people doing 4 to 5 sessions per week, targeted cold packs on stressed joints get most of the recovery benefit without the systemic cold exposure that may interfere with the adaptive signaling you want from your training.
Disposable single-use cold packs. They are fine for travel emergencies but they are expensive per use, produce a lot of waste, deliver inconsistent temperatures, and go warm quickly. A quality reusable gel pack pays for itself within a few weeks of regular use and delivers more consistent cold for the full 15 to 20 minute session you actually need. The REVIX pack costs less than two boxes of single-use packs and lasts for hundreds of freeze-thaw cycles. If you are training regularly and want cold therapy in your routine, get a reusable pack. See the full comparison of reusable options in the guide to what belongs in your gym bag.
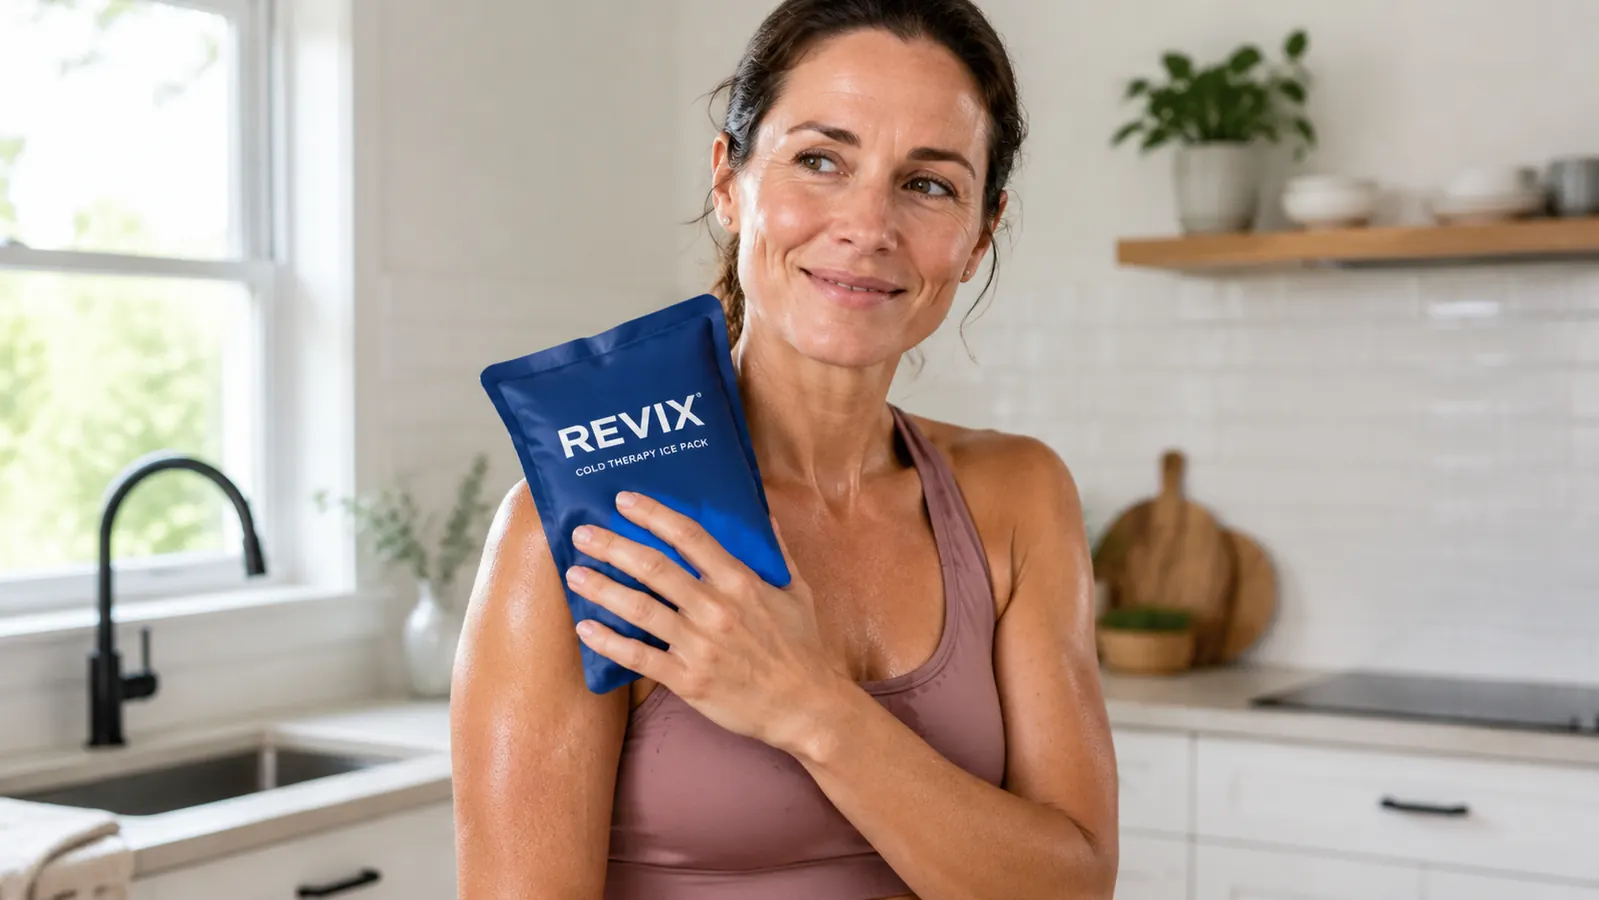
The REVIX ice pack is the one I keep in my freezer permanently.
Flexible when frozen, stays secured with the elastic strap, and covers enough surface area for back and shoulder work. Rated 4.6 stars across nearly 9,000 buyers. Check today's price before buying elsewhere.
Amazon Check Today's Price on Amazon →